View Cart Button Control for ASP.NET Web Form
This page explains the usage and facts about the View Cart button Web Form Server Control. If you intend to use View Cart button within your ASP.NET MVC project, please visit this page. If you are using Add to Cart Button in your web site, you may also want to use a 'View Cart' Button which will take your customers to the PayPal Shopping Cart showing the added items. In fact, when your customer clicks an 'Add to Cart' button, the item associated with the clicked 'Add to Cart' button is uploaded to the PayPal hosted shopping cart and finally he/she is taken to the PayPal 'View Cart' page. But, if you want to take your customer directly to the 'View Cart' page without adding an item, then a 'View Cart' button can do that. Please note: 'View Cart' Button is only for displaying cart items added by Add to Cart Button. You can not use it for Upload Complete Cart Button. Because, 'Upload Complete Cart' button actually a single checkout button where all the shopping cart items are uploaded to the PayPal hosted shopping cart in one step where there is no chance to change the cart items by the customer. In order to place a View Cart Button in your web form, please follow the following steps:
- Drag and drop an instance of a View-Cart Button Control from your Visual Studio Toolbox to your web form as shown below:
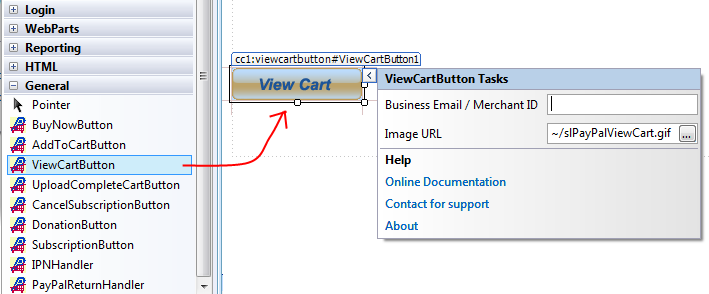
- Set the property BusinessEmailOrMerchant ID. Merchant ID is an alternative to using your Email address. It is better not to expose your business email address in order to protect your Email In-box from Spams. You can get your Merchant ID from your PayPal account's Profile section. You can set either Business Email or Merchant ID from the Smart Tag or from the Property Editor. m