Replacing the default Dialogs
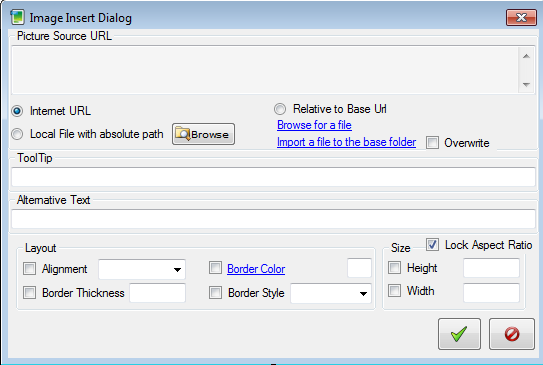
We have provided the source code for all dialogs used in this HTML editor in the download package you received from our website. If you open the zip file that you downloaded, you will find sample applications and there you will see a project for Customizing the Dialogs. That project is well explanatory and complete that you will not find any difficulty understanding how to override the default dialog with your own designed dialog. For example, lets say, you want to redesign the Image Insert / Edit Dialog.
Step 1. Open the Sample project from the zip file you downloaded and get locate the Image Insert Dialog source code.
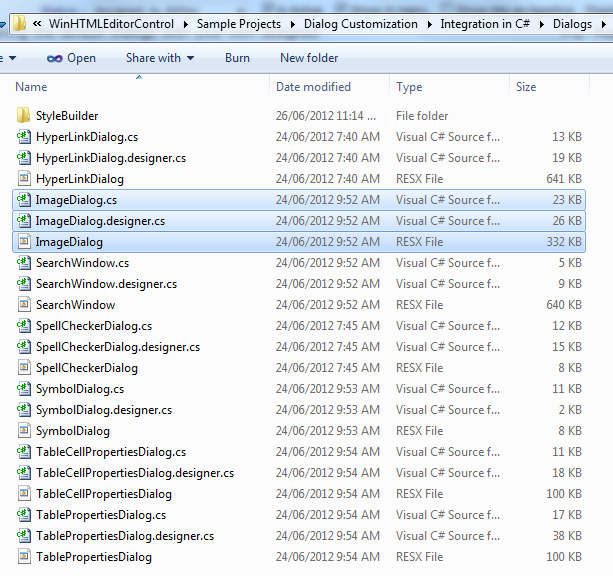
Step 2 : Copy the files to your project. Please make sure that you copy these files AFTER you added the reference to HTML Editor control to your project. Not before that.
Step 3: Now, change the Dialogs in anyway you want.
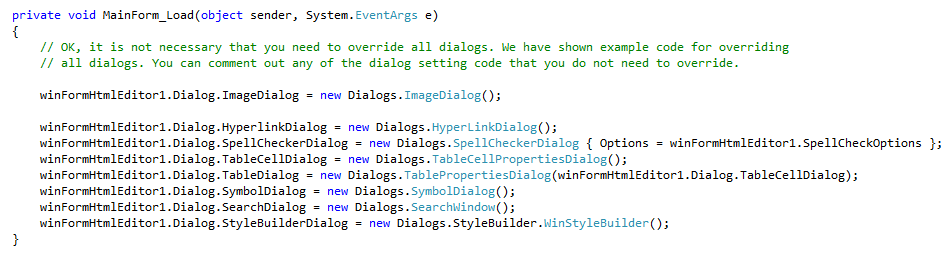
Step 4 : Once you changed the Design, you need to hook up this custom Dialog to the editor from the Form's Load event as shown below :

Please note the type Dialogs.ImageDialog() means, your custom Image Dialog is placed in a namespace named Dialogs. If you change the namespace for the Image Dialog class, then, you would need to use that proper namespace and class name accordingly.
Thats all. Now, when you run your Form and invoke the image dialog from the Image tool, you will see your custom Image Dialog is shown up instead of the default factory dialog. In order to save you from many confusions and integration headaches, the sample project we provided for Dialog Customization, we have shown all dialog customization techniques. So, you will not have any problem integrating these custom dialogs to your project.
Not only image dialogs, all other dialogs can be overridden in this way. Here is the complete snippet for overriding all dialogs.