Various Styling Options
There are many ways you can set CSS styles in this editor.1. Setting the BodyStyle Property.
2. Setting the BodyCSSClassName Property
3. Setting DocumentCSSFilePath Property
4. Setting HeaderStyleContent Property.
5. Manually inserting Style element block either inside the Head element or inside the Body Element.
1. BodyStyle property has rich design time support for Style Editor, but you can ignore the Editor Dialog and set your own CSS style string. This BodyStyle editing is available both for Developer at design time or run time AND the user from run time.
Developer's use case
Design Time:
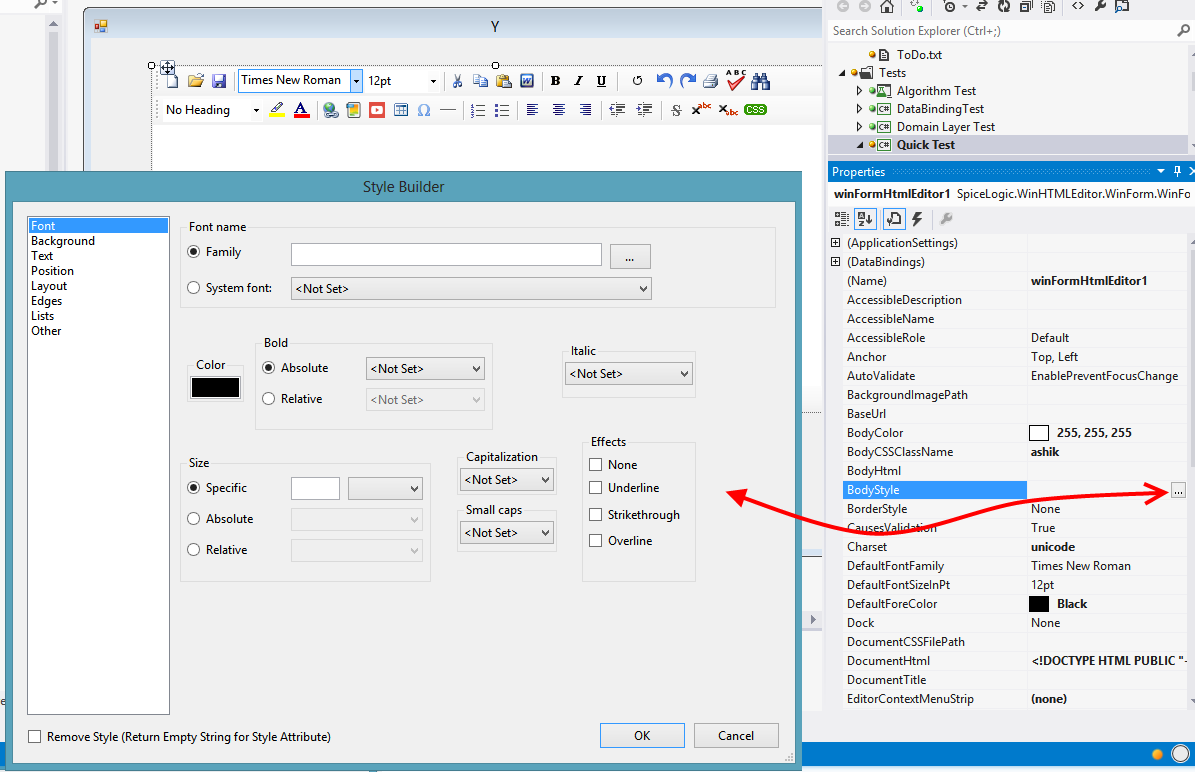
Run Time:

Naturally, you can set your CSS string from Design time BodyStyle property editor too.
User's use case
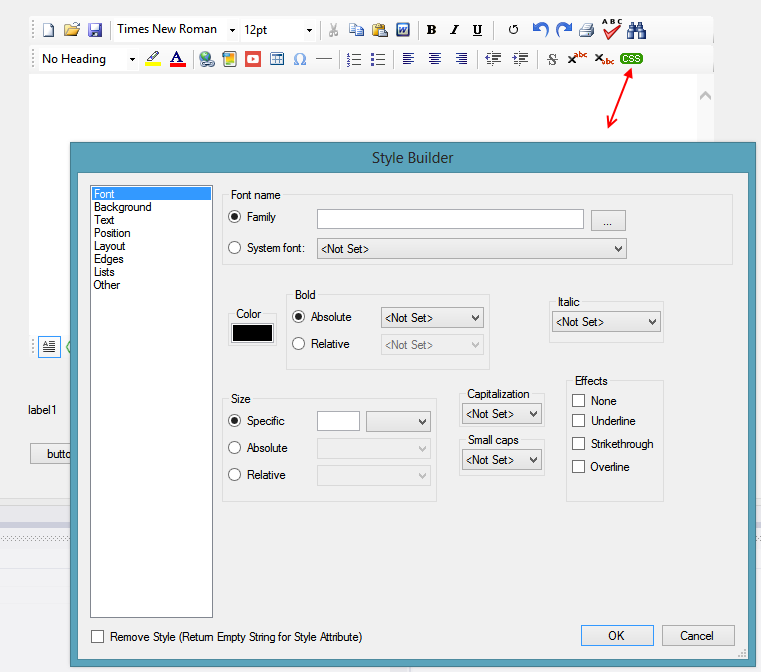
If you do not want to allow the user to set BodyStyle, you can
hide the CSS Toolbar button using following code within your Form's Load
event.

2. BodyCSSClassName is a powerful way of imposing CSS on your editing document. If you already defined your CSS style in an external CSS file, then, you can simply set the class name to this property. This feature opens lots of possibilities like, you can set a dedicated class name for design time editing (WYSIWYG) and simply not providing the CSS file in your publishing site, you can get rid of those design time CSS.
3. If you want to get or set an external CSS file for the document, the property you are looking for is named "DocumentCSSFilePath". You can set a valid file path to any CSS file. It is more practical that you will set this property from code, within your Form's Load event.
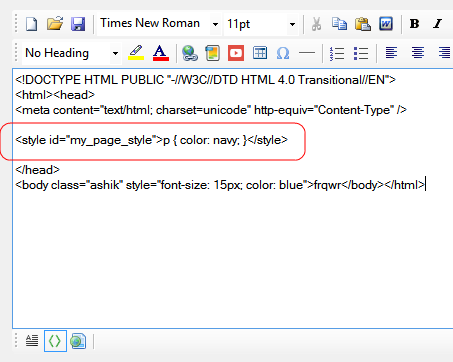
4. HeaderStyleContent property allows you to set CSS directly within the <head> element of the html document. In order to support this feature, an id attribute is used for the style element block. By default, this id is 'page_style'. But you can change that value too by setting property HeaderStyleContentElementID.
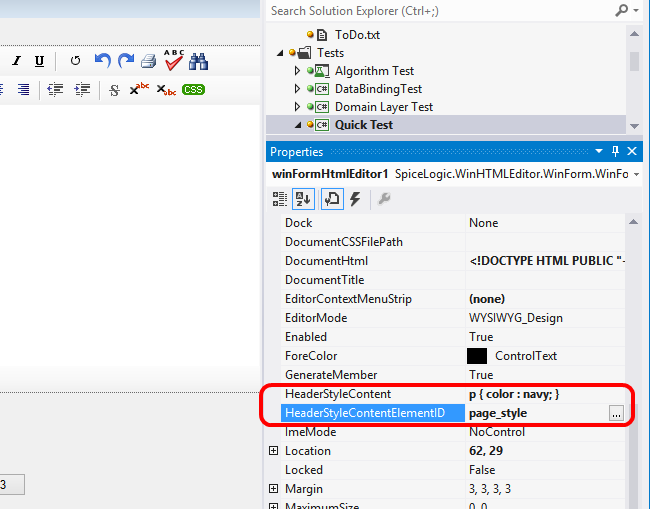
If you set HeaderStyleContent property value 'p { color:navy; }' and HeaderStyleContentElementID = 'my_page_style' then, when you run your application, your HTML document will look like this:
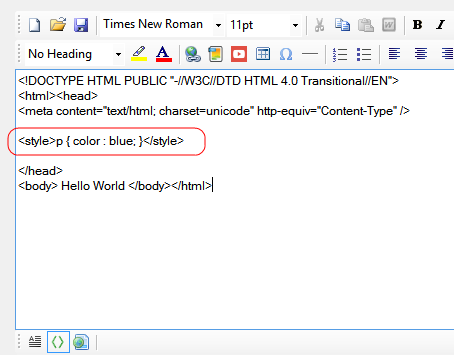
5. You can always insert your custom Style block manually using the Editor's Content Service as shown here:

And that will result :
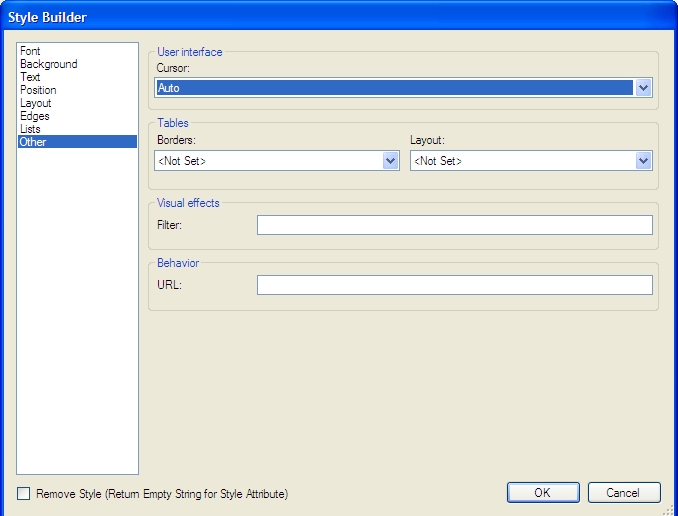
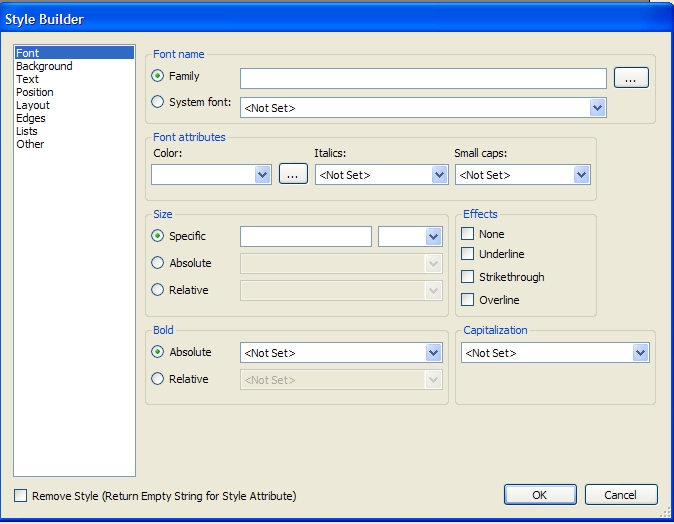
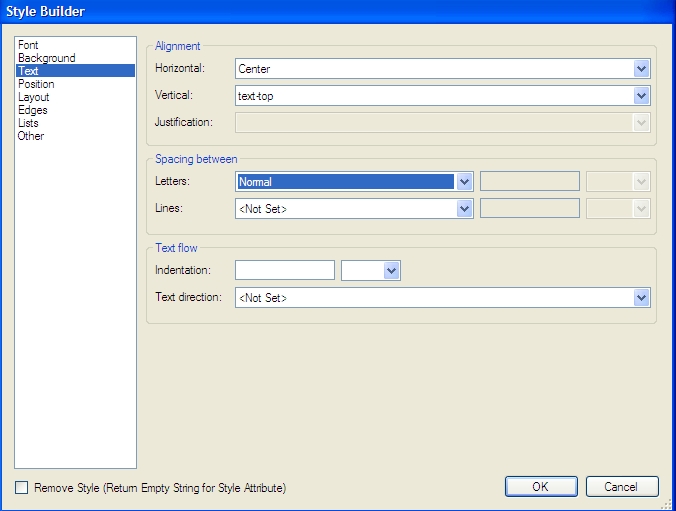
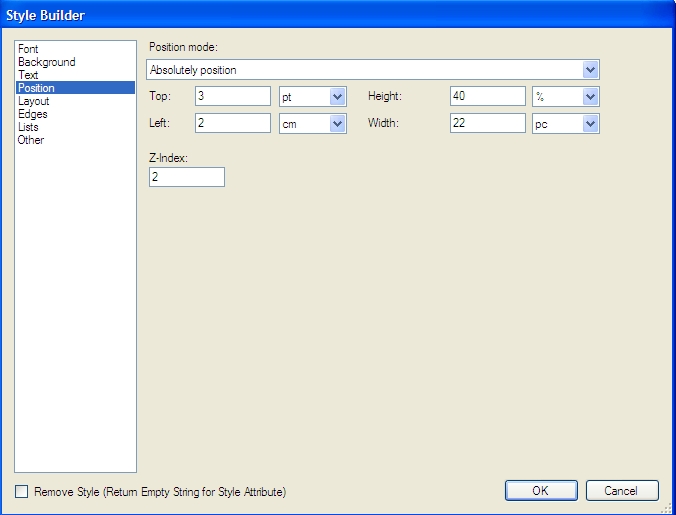
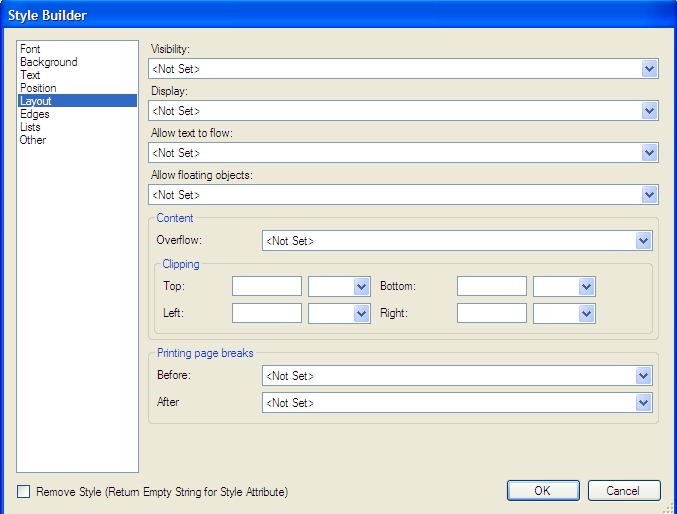
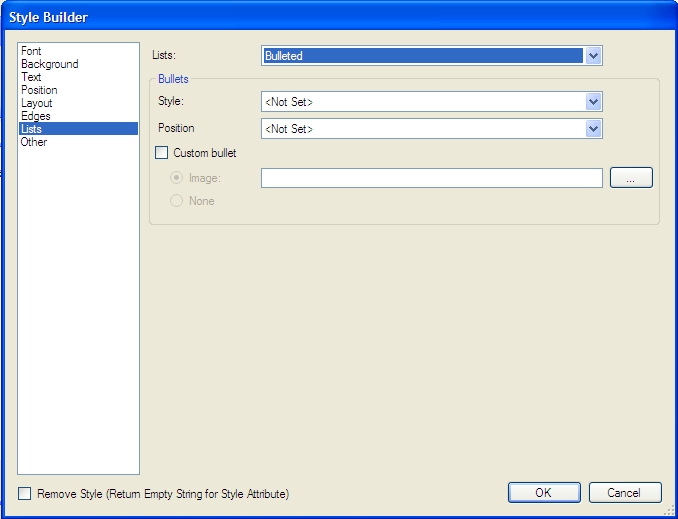
 Appendix : Here is the set of screenshots for all pages in the Style Builder Dialogue:
CSS:
Font Picker:

Background Style:

Text Style:
Position Style:
Layout Style:
Edges Style:

List Style:
Other Style: